The boot industry has a dirty secret: most winter boots are designed for snow, not ice. And the two surfaces demand completely different engineering. Snow requires deep, widely spaced lugs to eject packed powder. Ice requires maximum surface contact, specific rubber compounds, and tread geometries you can’t evaluate with a quick glance.
This article covers the exact specifications to look for on an outsole, which rubber compounds have independent test data behind them, and when you should ignore insulation ratings entirely and focus on the one thing that keeps you vertical.
The Rubber Compound Test No One Talks About
Here’s a claim you’ll see on dozens of boot product pages: “slip-resistant outsole.” It means nothing. There is no regulatory standard for that phrase. A brand can slap it on a hard plastic sole and face zero consequences.
What actually matters is the rubber compound formulation. Standard rubber stiffens dramatically as temperatures drop. The glass transition temperature—the point where rubber becomes brittle and loses grip—varies wildly between compounds. A boot that grips well at 40°F can become dangerous at 15°F.
Three compounds have independent test data backing their ice performance:
- Vibram Arctic Grip: Tested by Vibram on wet ice at multiple temperatures. Uses a thermochromic lug that changes color when temperatures drop low enough for ice formation. Found on Merrell, Sperry, and some Hoka models. Independent friction testing shows a 0.28-0.32 coefficient of friction on wet ice, compared to 0.08-0.12 for standard rubber.
- Green Diamond: A Swedish compound with embedded ceramic particles that grip ice microscopically. Used primarily by Icebug. The particles are harder than ice crystals and bite into the surface at a microscopic level. Testing from the Swedish National Road and Transport Research Institute (VTI) confirms performance advantages on polished ice.
- Michelin Winter Compound: Licensed to select footwear brands. Derived from Michelin’s winter tire rubber formulations. Found on some Columbia and Kamik models. Designed to remain pliable down to -30°C.
If the boot doesn’t name one of these three compounds specifically, assume the outsole is standard rubber. Standard rubber is fine for cold pavement. It’s dangerous on ice.
How to Verify Without Lab Equipment
You can’t test the glass transition temperature in a store. But you can do a fingernail press test. Press your thumbnail firmly into the outsole rubber. If it leaves a slight indent and the rubber feels gummy, it’s likely a cold-weather compound. If it’s hard and resists indentation, walk away. This isn’t scientific, but it correlates with pliability at low temperatures.
Also: look for the specific compound name printed directly on the outsole. Vibram and Michelin require their logo and compound name to be molded into the rubber. If you see a generic “all-terrain” stamp with no manufacturer name, it’s house-brand rubber with no published test data.
The Lug Pattern Ice Actually Responds To

Deep, aggressive lugs are counterproductive on ice. They reduce surface contact area. On snow, you want lugs that dig in. On ice, you want as much rubber touching the surface as possible. This is the opposite of what most boot marketing shows you.
The ideal ice outsole has three characteristics:
- High surface contact ratio: At least 60% of the outsole should be flat rubber contacting the ground. Look at the sole from the bottom. If you see more air gap than rubber, it’s a snow tread, not an ice tread.
- Multi-directional siping: Sipes are the thin slits cut into the rubber. On ice, they create edges that grip and channels that evacuate the thin water film that forms between rubber and ice. Siping should run in at least two directions. Single-direction siping helps with forward/backward slip but does nothing for lateral stability.
- Heel-to-toe contact strips: The best ice outsoles have continuous rubber contact from heel to toe along the perimeter. This creates a stable platform. Interrupted lugs create pivot points where the boot can rotate unexpectedly.
The Pattern That Fails Most Often
The most dangerous outsole for ice is the classic hiking-boot pattern: deep chevron lugs with wide spacing. These boots are excellent on trails, mud, and snow. They are terrible on ice because each lug acts as a tiny high-heel, concentrating your weight onto a small surface area with no siping to manage the water film. If you already own boots with this pattern, they’re not useless—they’re just the wrong tool for icy sidewalks. Wear them on snowy trails. Don’t wear them on a freezing-rain morning commute.
When Insulation Ratings Distract From the Real Risk
Insulation is the easiest spec to market and the least relevant to safety on ice. A 400g Thinsulate rating tells you your foot will stay warm. It tells you nothing about whether you’ll stay upright.
Here’s the problem: heavily insulated boots often have thicker, stiffer midsoles. A stiff midsole reduces proprioception—your foot’s ability to feel the surface and make micro-adjustments. On ice, those micro-adjustments are critical. A boot with 200g insulation and a flexible forefoot will often keep you safer than a 600g boot with a rigid platform, even if both use the same outsole compound.
This doesn’t mean insulation is bad. It means insulation should be your third priority, not your first. Priority order for icy conditions:
- Outsole compound (Vibram Arctic Grip, Green Diamond, or Michelin Winter)
- Outsole pattern (high contact ratio, multi-directional siping)
- Insulation (matched to your actual activity level and temperature)
If a boot nails #1 and #2 but has less insulation than you’d like, you can add a thicker sock. You cannot add grip to a boot with the wrong outsole.
Boots That Get the Formula Right

Several brands have committed to ice-specific outsoles. These aren’t affiliate recommendations—they’re examples of what the specs above look like in real products.
Merrell Thermo Chill Mid Waterproof: Uses Vibram Arctic Grip outsole with a high surface-contact tread pattern. 200g insulation. The outsole has the thermochromic lug feature—blue lugs appear when temperatures drop to freezing. This is a mid-height boot, which provides ankle support without the stiffness of a full winter boot. The siping runs in three directions across the forefoot.
Icebug Stavre BUGrip: Uses the Green Diamond compound with carbide tip studs integrated into the outsole. This is the most aggressive ice solution short of full crampons. The studs are not removable—they’re embedded in the rubber. This boot is overkill for most urban winter use, but if you live somewhere with persistent ice coverage or have balance concerns, it’s the highest-traction option available. The tradeoff: studs are loud on dry pavement and can feel unstable on hard indoor floors.
Sorel Caribou XT: An update to the classic Caribou with a Vibram Arctic Grip outsole. This is a pac-style boot with a removable felt liner, rated to -40°F. The outsole pattern is less ice-optimized than the Merrell—it has deeper lugs with lower surface contact—but the rubber compound still outperforms standard outsoles. Best for someone who needs deep cold protection and occasional ice traction, not daily ice commuting.
| Model | Outsole Compound | Surface Contact Ratio | Insulation | Best For |
|---|---|---|---|---|
| Merrell Thermo Chill Mid | Vibram Arctic Grip | High (~65%) | 200g | Urban ice commuting, moderate cold |
| Icebug Stavre BUGrip | Green Diamond + carbide studs | Medium (~50%, studs compensate) | Minimal | Persistent ice, rural conditions, balance issues |
| Sorel Caribou XT | Vibram Arctic Grip | Medium (~45%) | Removable felt liner, -40°F rated | Deep cold with occasional ice |
| Generic Hiking Boot | Unspecified rubber | Low (~30%) | Varies | Snowy trails only—not for ice |
The Mistake Even Careful Buyers Make
You buy the right boot with the right outsole. You wear it for two winters. The tread still looks fine to the naked eye. But you start slipping more. What changed?
The siping wore down. Sipes are thin cuts in the rubber. They’re the first thing to degrade, often within 150-300 miles of walking on pavement. Once the sipes lose their sharp edges, water film evacuation drops dramatically. The rubber compound still grips, but the mechanical advantage of the siping is gone.
You can check this with a fingernail. Run your nail across a sipe. If the edge feels rounded rather than sharp, the siping is worn. The outsole compound still has life, but the ice performance is degraded. This doesn’t mean the boot is trash—it means it’s now a cold-weather boot, not an ice boot. Adjust your expectations and your walking surface choices accordingly.
This is also why you shouldn’t buy used winter boots online unless you can see a clear photo of the outsole. A seller might say “worn only one season” but if that season involved 400 miles of pavement walking, the siping is gone.
The Single Most Important Takeaway

If you walk away with one thing, make it this: the outsole compound name is the only spec that predicts ice performance—look for Vibram Arctic Grip, Green Diamond, or Michelin Winter printed on the rubber, and if you don’t see one of those three names, the boot is for snow, not ice, regardless of what the marketing says.
]]>Why February Is the Right Time to Protect Suede
Protect suede before the first rainy commute, not after the nap has already absorbed dirty water. Suede has a raised surface made from fine leather fibers. Those fibers create the soft texture that makes suede attractive, but they also catch dust, salt, road grit, and oily marks. Rain itself is only part of the problem. Water moving across a city pavement can carry brake dust, mud, and salt into the nap.
Cold weather changes the risk
Late winter brings repeated wet-dry cycles. A shoe gets damp on the walk to the train, warms up indoors, then dries again beside a radiator. That cycle can flatten the nap, deepen stains, and make the color look patchy. A protector adds water repellency to the surface, so droplets have more time to roll away before they soak in. It does not make suede waterproof, and it cannot rescue a shoe already saturated with dirty water.
Clean first, protect second
Brush the shoes with a suede brush while they are dry. Use short strokes in one direction to lift loose grit, then use a clean rubber suede eraser only on small dry marks. Do not cover an oily stain with spray. The coating can lock the mark into the fibers and make later cleaning harder. For a pair that has visible salt lines, deep grease, or color transfer, professional cleaning is the better choice before any protector goes on.
My February rule is simple: if the shoes are clean and fully dry, protect them now; if they are stained or damp, clean and dry them first.
How to Protect Suede Before a Rainy Week

The safest method takes about 30 minutes of hands-on work plus overnight drying. Work outside or beside an open window, keep the can away from flames, and cover nearby floors and furniture. The coating needs a thin, even layer. Heavy spraying can darken pale suede, stiffen the nap, or leave a sharp solvent smell trapped in the material.
Use this five-step routine
- Inspect the label. Confirm that the protector is approved for suede or nubuck. Do not assume a product made for smooth leather, patent leather, vinyl, or fabric is safe for a napped surface.
- Brush the dry shoe. Remove dust from the welt, eyelets, tongue, and heel before spraying. Untied laces give you better access and prevent missed stripes.
- Test a hidden patch. Spray a small amount under the tongue or behind the heel. Wait until it dries completely. Compare the color and texture in daylight.
- Spray from 20 to 30 centimeters away. Keep the can moving and apply two light passes instead of one wet pass. Cover the toe, side panels, heel, and tongue evenly.
- Let the pair cure overnight. Give the shoes at least 12 hours before wearing them in rain. Brush the nap lightly after curing so the surface does not look flat.
Dry the shoes without damaging them
If the shoes get wet, remove the laces and insoles, blot the surface with a white towel, and stuff the toes with plain paper. Replace the paper when it becomes damp. Keep the shoes at room temperature and at least one metre from a radiator, hair dryer, heat vent, or heated boot rack. Direct heat pulls moisture out too quickly and can shrink leather, harden the nap, or distort the toe shape.
Do not apply a second coat while the first still feels cool, tacky, or strongly scented. The surface must feel dry before the next pass. A single careful treatment is more useful than three rushed coats.
Which Suede Protector Fits Your Shoe?
The clearest buying decision is based on material, color risk, and how often the shoes face rain. Package size and shelf price can change by country, so treat the figures below as typical U.S. retail ranges for 2026 rather than fixed prices. The strongest choice for most everyday suede shoes is Saphir Super Invulner because it is made for leather, suede, nubuck, and textiles, but a smaller or lower-cost can may make more sense for one pair.
Choose the Saphir option for a pale suede designer shoe or a pair you plan to keep for years. Choose Crep Protect for several casual trainers that share the same care routine. Choose Nikwax when you want a water-based formula and the label matches the shoe. None of these products replaces cleaning, and none gives permission to wear suede through standing water.
Can You Spray Suede After It Gets Wet?
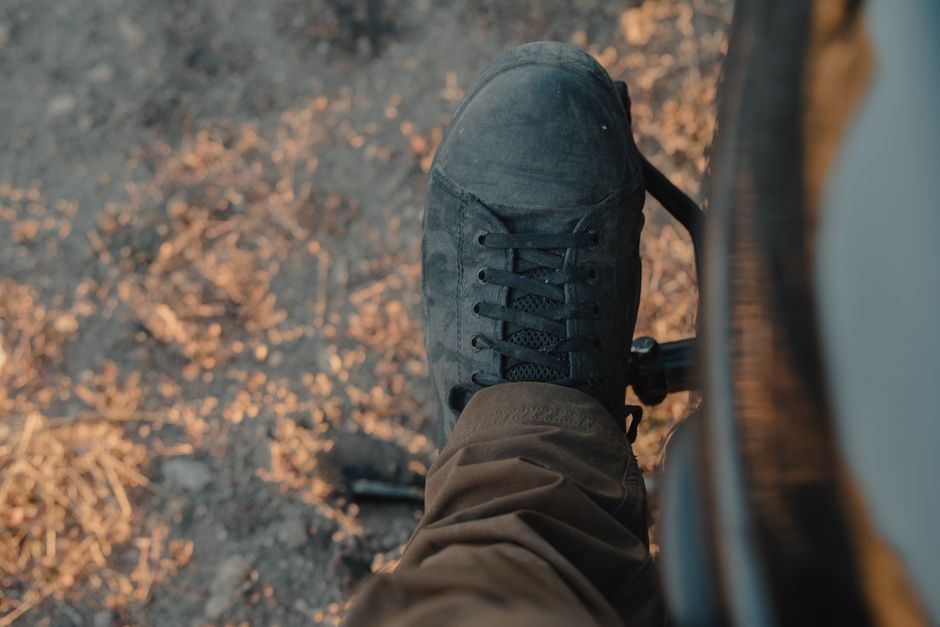
Yes, but only after the shoe has dried and passed a texture check. Spraying a wet shoe traps moisture under the coating and can create darker patches that are difficult to remove. The right response depends on how much water reached the suede and what the water carried with it.
What should you do after light rain?
For a few droplets, blot gently with a clean white towel and let the pair dry naturally. Once the surface is fully dry, brush the nap with a suede brush. If the color looks even and the fibers stand normally, apply a thin coat of protector the next day. Crep Protect Spray, Tarrago Nano Protector, and Saphir Super Invulner all list suede and nubuck among their suitable materials, but the hidden-patch test still matters because dyes react differently.
What should you do after soaking or salt exposure?
For soaked shoes, fill the toes with paper and let them dry for at least 24 hours. If white salt lines appear, do not scrub hard and do not add conditioner made for smooth leather. Use a suede-safe cleaner or take the shoes to a cobbler. A protector will not erase salt, grease, or dye transfer. The most common mistake is trying to fix a stain with repeated sprays. That adds residue while the original problem stays inside the nap.
Skip home treatment when the shoe has bleeding color, a spreading oil stain, severe shrinkage, or a luxury finish that the care label excludes. Paying for one careful cleaning is cheaper than replacing a favorite pair.
The February Rain Verdict for Suede Shoes

Buy a suede protector when the shoes are clean, dry, and likely to face several wet commutes; apply two light passes from 20 to 30 centimeters away and leave them overnight. Do not buy one as a rescue product for soaked, greasy, salt-stained, or badly discolored suede, because a water-repellent film cannot reverse damage already inside the fibers.
Best plan for everyday suede
Brush the pair before February rain, patch-test the chosen protector, spray lightly, cure for 12 hours, and carry a small absorbent cloth on the first wet outing. After each rainy day, dry the shoes at room temperature and brush the nap back into shape. This routine protects the texture as much as the color.
When to choose another shoe
Wear smooth leather, treated textile, rubber, or genuinely waterproof footwear when the forecast calls for prolonged rain, deep puddles, or slush. Suede works well in light showers when maintained, but it is the wrong material for standing water. The practical win is not making suede indestructible; it is keeping it out of conditions that no spray can handle.
]]>Why Road Salt Damages Boots Before You See the Stain
Road salt is a moisture problem first and a stain problem second. When wet saltwater dries on a boot, the water evaporates while salt crystals remain near the surface. Those crystals can draw oils toward the outside of smooth leather, leaving it dry and dull. On suede, salt can flatten the nap and create a hard-edged mark that brushing alone will not remove.
Salt attacks the surface and the seams
Boots take damage at the places that flex most: the toe crease, the welt, the tongue, and the area around the laces. Saltwater enters those folds as you walk through a curbside puddle. Once the boot dries, the residue can make the leather feel tight and the stitching less flexible. The problem grows when someone waits several days before cleaning, because repeated wetting and drying gives the residue more time to settle.
The safest response is quick removal with a damp cloth or a controlled rinse, followed by slow drying. Scrubbing a dry salt mark with a stiff brush often spreads the residue and roughens the finish.
Heat creates a second failure
A radiator, hair dryer, or heating vent can dry the boot quickly, but fast heat also pulls water from leather unevenly. That can cause curling, cracking, adhesive failure, or a misshapen toe box. Newspaper or unprinted paper helps hold the shape while the boot dries at room temperature. Remove the paper when it becomes damp, then replace it until the interior feels dry.
The practical verdict is simple: treat salt as a residue that needs removal, not as a cosmetic mark that can wait for the weekend.
The First 24 Hours: A Five-Step Boot Rescue
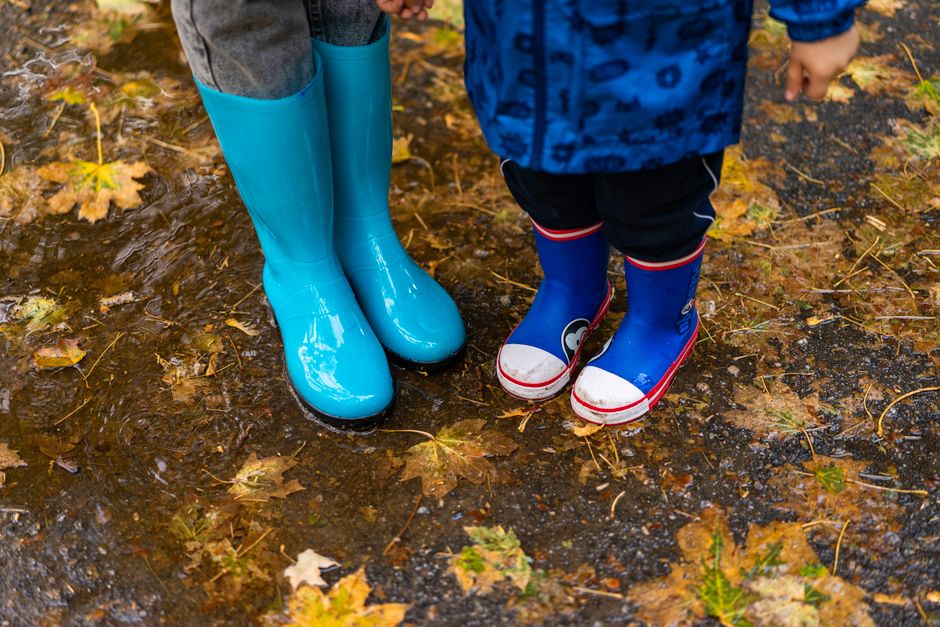
Clean the boot before it gets another full day of sidewalk exposure. The first 24 hours matter because fresh salt residue is easier to lift than a set stain, and damp leather is easier to reshape than leather that has already dried hard.
- Remove surface grit. Take out the laces and use a soft horsehair brush or clean cotton cloth to remove loose sand and salt crystals. Brush away from the boot opening so grit does not fall inside.
- Blot wet areas. Press a towel against slush-soaked panels. Do not twist the boot or rub the wet surface aggressively. Rubbing can drive saltwater deeper into the grain or nap.
- Wipe with clean water. Dampen a cloth with cool water and wipe the affected panel from seam to seam. For a broad salt mark, wipe the whole panel lightly so the color does not dry in a new ring.
- Dry with support. Insert unprinted paper or a clean shoe tree. Keep the boots away from radiators, fireplaces, heated floors, and direct sunlight. Leave them at room temperature until the inside is dry.
- Restore the finish. Once smooth leather is fully dry, apply a small amount of compatible conditioner to a cloth, not directly to the boot. Suede should receive brushing and a suede-specific treatment rather than ordinary leather cream.
What to do with a deep curbside soak
If the boot is wet above the ankle, remove the insole if it comes out easily and dry it separately. Check the sole edge and welt for trapped grit. A boot that still feels cold or damp inside after one night needs more time, not more conditioner. Conditioning damp leather can seal moisture into the material and leave it uneven.
What not to do during cleanup
Do not use kitchen soap, bleach, alcohol, or a rough scouring pad. These household fixes may remove visible color while stripping the finish underneath. Do not pour water directly over a suede boot, and do not apply waterproofing spray to a dirty surface. The spray can lock grime into the fibers and make later cleaning harder.
For January commuting, this five-step routine is the best default: brush, blot, wipe, dry slowly, then treat the material according to its finish.
Choose the Cleaning Method by Boot Material
The correct method depends more on the boot surface than on the brand. Smooth leather tolerates controlled wiping and light conditioning. Suede needs a dry-first approach because excess water can flatten the nap. Textile panels and coated synthetics can often handle a mild damp cloth, but their adhesives still dislike high heat.
| Boot material | First response | Do not use | Useful reference product |
|---|---|---|---|
| Smooth leather | Wipe with cool water, dry slowly, then condition lightly | Radiator heat, heavy oil, repeated soaking | Saphir Médaille d’Or Renovateur, 100 ml |
| Suede or nubuck | Let dry, brush with a suede brush, then treat the marked area | Leather cream, soaking, stiff household brushes | Kiwi Suede & Nubuck Cleaner, 5 oz |
| Textile or mesh | Blot, spot-clean with mild soap solution, air-dry | Chlorine bleach, tumble drying, hot water | Jason Markk Repel Spray, 5.4 oz |
| Mixed leather and textile | Test each panel separately and mask nearby materials | One product spread across every surface | Tarrago Nano Protector, 250 ml |
Why the material label beats the product label
A cleaner marketed for “boots” may still be wrong for a particular panel. A leather cream can darken pale suede permanently. A water-repellent spray made for canvas may leave a cloudy film on polished leather. Read the care label, identify the surface, and test any treatment on the tongue or another hidden area before applying it to the toe.
The named products above are reference points, not required purchases or endorsements. A clean cloth, cool water, a soft brush, and slow drying solve many fresh salt marks without adding another product to the closet.
Best method for a mixed-material city boot
Work in sections. Clean the smooth leather first with a barely damp cloth, then wait until it dries before brushing the suede panel. Cover zippers, elastic, and untreated textile before using any protector. For most mixed-material boots, controlled spot treatment is safer than a full-boot soak because water can move between panels and dry at different rates.
The clear winner for winter care is the least aggressive compatible method. More product does not mean more protection.
My Verdict: Slow Drying Beats Heavy Conditioning
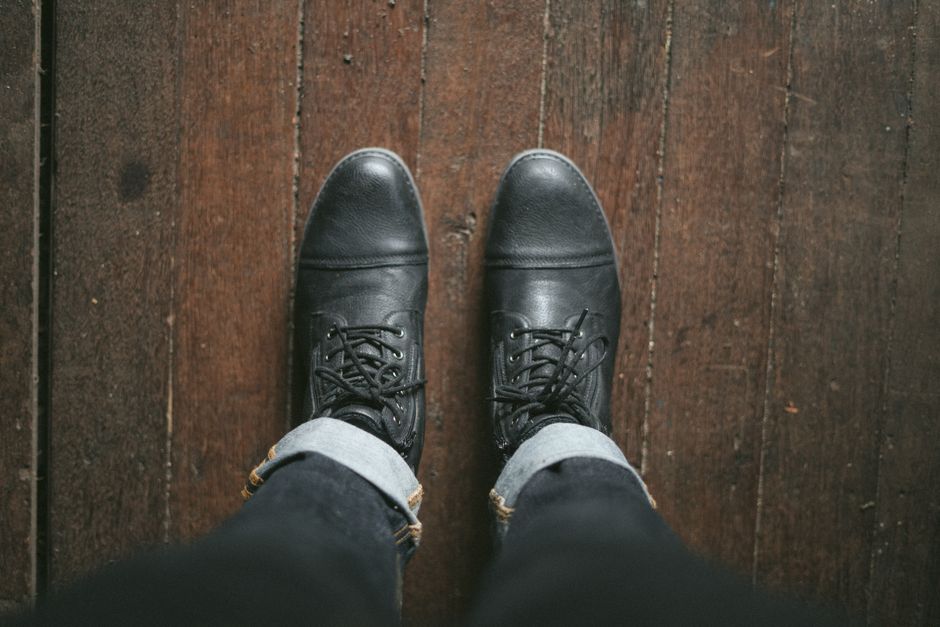
Best default for daily commuters
My recommendation is to make slow drying the center of the routine. A boot that dries evenly keeps its shape, while a boot coated with oil before it is dry can feel greasy on the outside and remain damp inside, creating a poor base for the next day’s walk. After each salty commute, wipe the boot that same evening, support its shape with paper or a shoe tree, and leave it in a ventilated room overnight; that small habit prevents more January damage than a thick layer of conditioner applied once a month.
When not to add another treatment
Do not buy a new cleaner, conditioner, or waterproofing spray when the boot has an unknown finish, a peeling coating, loose stitching, or a deep crack, because extra chemicals may hide the damage while making professional repair harder; in that situation, stop wearing the pair in wet conditions, remove loose grit gently, and ask a qualified cobbler to identify the material and repair option. The strongest care decision is sometimes restraint, especially for vintage boots, pale suede, or footwear with a delicate painted finish.
Boot-Care Questions January Walkers Ask

Can I remove salt stains with vinegar?
A diluted white-vinegar solution is sometimes used for stubborn salt residue on smooth, finished leather, but it is not a universal remedy. Vinegar can change the smell, sheen, or color of an untested finish, and it is a poor choice for many suede, nubuck, and coated materials. If the boot care label permits damp cleaning, test a weak solution on a hidden area first, use a cloth rather than pouring it onto the boot, and wipe again with clean water. For pale or expensive boots, a material-specific cleaner or cobbler assessment is the safer choice.
Should I waterproof boots before winter?
Yes, if the manufacturer permits it and the boot is clean and completely dry. Waterproofing does not make a boot invulnerable to slush, salt, or standing water; it mainly gives the surface more time before moisture soaks in. Apply a light, even coat outdoors or in strong ventilation, keep the spray away from floors and clothing, and allow the stated curing time before wearing the boots. Repeating the treatment too often can leave buildup, so the surface condition and actual weather exposure matter more than a fixed weekly schedule.
When should a cobbler handle the problem?
Use a cobbler when salt damage reaches the welt, sole attachment, stitching, lining, or structural leather. A professional can replace a worn heel, clean a delicate finish, reset a loose sole, or identify whether cracking comes from age rather than one salty walk. Home care is suitable for fresh surface residue; it is not a reliable repair for separated soles or brittle leather. With that distinction in mind, the January sidewalk scenario has a straightforward resolution: clean the salt promptly, dry the boots slowly, and reserve aggressive treatment for a professional who can see the material and damage in person.
]]>