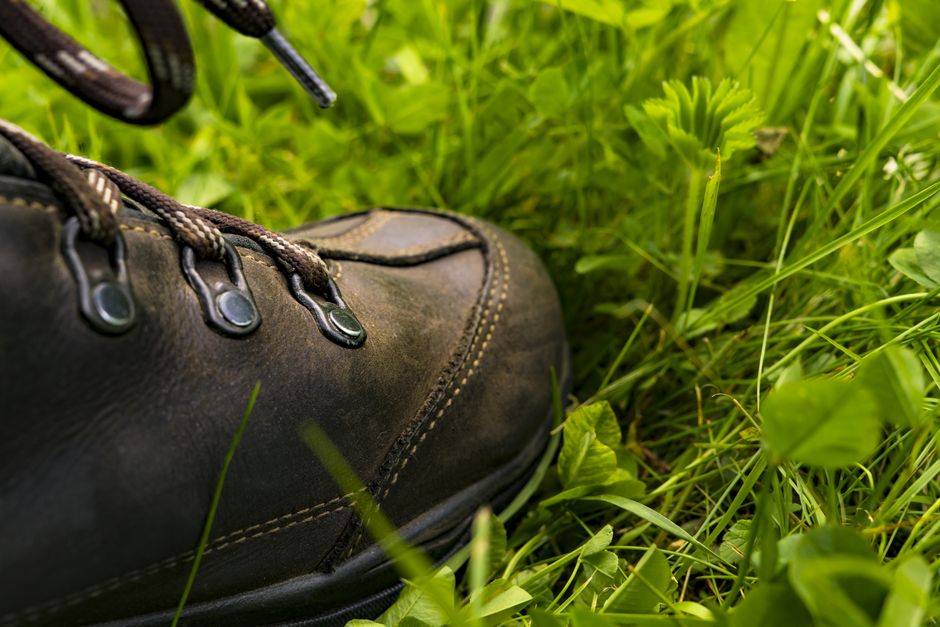
January Boot Care for Salted Sidewalks: 5 Steps
January sidewalks leave more than slush on your boots: road salt can pull moisture from leather, stiffen seams, and mark suede with pale rings. No state laws are discussed here; this is not legal advice—consult a licensed attorney for any sidewalk injury, property-damage claim, or other legal question.
Why Road Salt Damages Boots Before You See the Stain
Road salt is a moisture problem first and a stain problem second. When wet saltwater dries on a boot, the water evaporates while salt crystals remain near the surface. Those crystals can draw oils toward the outside of smooth leather, leaving it dry and dull. On suede, salt can flatten the nap and create a hard-edged mark that brushing alone will not remove.
Salt attacks the surface and the seams
Boots take damage at the places that flex most: the toe crease, the welt, the tongue, and the area around the laces. Saltwater enters those folds as you walk through a curbside puddle. Once the boot dries, the residue can make the leather feel tight and the stitching less flexible. The problem grows when someone waits several days before cleaning, because repeated wetting and drying gives the residue more time to settle.
The safest response is quick removal with a damp cloth or a controlled rinse, followed by slow drying. Scrubbing a dry salt mark with a stiff brush often spreads the residue and roughens the finish.
Heat creates a second failure
A radiator, hair dryer, or heating vent can dry the boot quickly, but fast heat also pulls water from leather unevenly. That can cause curling, cracking, adhesive failure, or a misshapen toe box. Newspaper or unprinted paper helps hold the shape while the boot dries at room temperature. Remove the paper when it becomes damp, then replace it until the interior feels dry.
The practical verdict is simple: treat salt as a residue that needs removal, not as a cosmetic mark that can wait for the weekend.
The First 24 Hours: A Five-Step Boot Rescue
Clean the boot before it gets another full day of sidewalk exposure. The first 24 hours matter because fresh salt residue is easier to lift than a set stain, and damp leather is easier to reshape than leather that has already dried hard.
- Remove surface grit. Take out the laces and use a soft horsehair brush or clean cotton cloth to remove loose sand and salt crystals. Brush away from the boot opening so grit does not fall inside.
- Blot wet areas. Press a towel against slush-soaked panels. Do not twist the boot or rub the wet surface aggressively. Rubbing can drive saltwater deeper into the grain or nap.
- Wipe with clean water. Dampen a cloth with cool water and wipe the affected panel from seam to seam. For a broad salt mark, wipe the whole panel lightly so the color does not dry in a new ring.
- Dry with support. Insert unprinted paper or a clean shoe tree. Keep the boots away from radiators, fireplaces, heated floors, and direct sunlight. Leave them at room temperature until the inside is dry.
- Restore the finish. Once smooth leather is fully dry, apply a small amount of compatible conditioner to a cloth, not directly to the boot. Suede should receive brushing and a suede-specific treatment rather than ordinary leather cream.
What to do with a deep curbside soak
If the boot is wet above the ankle, remove the insole if it comes out easily and dry it separately. Check the sole edge and welt for trapped grit. A boot that still feels cold or damp inside after one night needs more time, not more conditioner. Conditioning damp leather can seal moisture into the material and leave it uneven.
What not to do during cleanup
Do not use kitchen soap, bleach, alcohol, or a rough scouring pad. These household fixes may remove visible color while stripping the finish underneath. Do not pour water directly over a suede boot, and do not apply waterproofing spray to a dirty surface. The spray can lock grime into the fibers and make later cleaning harder.
For January commuting, this five-step routine is the best default: brush, blot, wipe, dry slowly, then treat the material according to its finish.
Choose the Cleaning Method by Boot Material
The correct method depends more on the boot surface than on the brand. Smooth leather tolerates controlled wiping and light conditioning. Suede needs a dry-first approach because excess water can flatten the nap. Textile panels and coated synthetics can often handle a mild damp cloth, but their adhesives still dislike high heat.
| Boot material | First response | Do not use | Useful reference product |
|---|---|---|---|
| Smooth leather | Wipe with cool water, dry slowly, then condition lightly | Radiator heat, heavy oil, repeated soaking | Saphir Médaille d’Or Renovateur, 100 ml |
| Suede or nubuck | Let dry, brush with a suede brush, then treat the marked area | Leather cream, soaking, stiff household brushes | Kiwi Suede & Nubuck Cleaner, 5 oz |
| Textile or mesh | Blot, spot-clean with mild soap solution, air-dry | Chlorine bleach, tumble drying, hot water | Jason Markk Repel Spray, 5.4 oz |
| Mixed leather and textile | Test each panel separately and mask nearby materials | One product spread across every surface | Tarrago Nano Protector, 250 ml |
Why the material label beats the product label
A cleaner marketed for “boots” may still be wrong for a particular panel. A leather cream can darken pale suede permanently. A water-repellent spray made for canvas may leave a cloudy film on polished leather. Read the care label, identify the surface, and test any treatment on the tongue or another hidden area before applying it to the toe.
The named products above are reference points, not required purchases or endorsements. A clean cloth, cool water, a soft brush, and slow drying solve many fresh salt marks without adding another product to the closet.
Best method for a mixed-material city boot
Work in sections. Clean the smooth leather first with a barely damp cloth, then wait until it dries before brushing the suede panel. Cover zippers, elastic, and untreated textile before using any protector. For most mixed-material boots, controlled spot treatment is safer than a full-boot soak because water can move between panels and dry at different rates.
The clear winner for winter care is the least aggressive compatible method. More product does not mean more protection.
My Verdict: Slow Drying Beats Heavy Conditioning
Best default for daily commuters
My recommendation is to make slow drying the center of the routine. A boot that dries evenly keeps its shape, while a boot coated with oil before it is dry can feel greasy on the outside and remain damp inside, creating a poor base for the next day’s walk. After each salty commute, wipe the boot that same evening, support its shape with paper or a shoe tree, and leave it in a ventilated room overnight; that small habit prevents more January damage than a thick layer of conditioner applied once a month.
When not to add another treatment
Do not buy a new cleaner, conditioner, or waterproofing spray when the boot has an unknown finish, a peeling coating, loose stitching, or a deep crack, because extra chemicals may hide the damage while making professional repair harder; in that situation, stop wearing the pair in wet conditions, remove loose grit gently, and ask a qualified cobbler to identify the material and repair option. The strongest care decision is sometimes restraint, especially for vintage boots, pale suede, or footwear with a delicate painted finish.
Boot-Care Questions January Walkers Ask

Can I remove salt stains with vinegar?
A diluted white-vinegar solution is sometimes used for stubborn salt residue on smooth, finished leather, but it is not a universal remedy. Vinegar can change the smell, sheen, or color of an untested finish, and it is a poor choice for many suede, nubuck, and coated materials. If the boot care label permits damp cleaning, test a weak solution on a hidden area first, use a cloth rather than pouring it onto the boot, and wipe again with clean water. For pale or expensive boots, a material-specific cleaner or cobbler assessment is the safer choice.
Should I waterproof boots before winter?
Yes, if the manufacturer permits it and the boot is clean and completely dry. Waterproofing does not make a boot invulnerable to slush, salt, or standing water; it mainly gives the surface more time before moisture soaks in. Apply a light, even coat outdoors or in strong ventilation, keep the spray away from floors and clothing, and allow the stated curing time before wearing the boots. Repeating the treatment too often can leave buildup, so the surface condition and actual weather exposure matter more than a fixed weekly schedule.
When should a cobbler handle the problem?
Use a cobbler when salt damage reaches the welt, sole attachment, stitching, lining, or structural leather. A professional can replace a worn heel, clean a delicate finish, reset a loose sole, or identify whether cracking comes from age rather than one salty walk. Home care is suitable for fresh surface residue; it is not a reliable repair for separated soles or brittle leather. With that distinction in mind, the January sidewalk scenario has a straightforward resolution: clean the salt promptly, dry the boots slowly, and reserve aggressive treatment for a professional who can see the material and damage in person.