Being on Pictures
Most people blame the camera. The real culprits are fabric choice, body angle, and preparation — all fixable before a single shot is taken. Fix those three and your photos improve immediately, consistently, across every context.
Why Your Clothes Look Different on Camera Than in the Mirror
Your eyes adapt constantly. They compensate for shifts in light, depth cues, and movement in ways you don’t consciously notice. A camera doesn’t adapt. It captures one flat, static frame that strips away the context your brain uses to read an outfit as polished or intentional. That gap — between what you see in the mirror and what the lens records — is exactly where most photo styling problems originate. And most of them have direct, specific fixes.
The first thing to eliminate: shiny fabric. Satin, patent leather, and high-polyester blends reflect light back to the lens in flat, detail-free patches called hotspots. In those areas, the garment loses all texture and reads as cheap on screen — even when it looked expensive in person under the same light. Matte textures fix this entirely. Linen, heavy cotton, ponte, and wool-blend knits absorb rather than redirect light. They hold visible texture across every condition, from harsh studio flash to warm restaurant ambient.
Colors That Work — and Colors That Don’t
Pure white near the face is the most common camera mistake in fashion styling. Under flash or direct daylight, white reflects so aggressively that surrounding detail blows out and nearby skin tones flatten by contrast. The fix: swap white for cream, ivory, or soft blush. Same clean aesthetic, none of the washout. The difference shows up dramatically in a side-by-side comparison.
Solid black has the opposite problem. In dim indoor settings or under warm ambient lighting, black absorbs so much that the garment becomes a void — no texture, no shape, just a flat dark mass where the clothing should be. Navy, charcoal, and deep forest green hold enough reflectance to show visible texture while still reading as dark and intentional. They photograph with depth that black simply doesn’t deliver in low light.
The camera’s sweet spot is medium tones. Burgundy, camel, dusty rose, sage green, cobalt blue. These colors hold their character across every lighting condition and contrast reliably against most skin tones. The Levi’s 501 Original in Medium Stonewash ($98) is a useful real-world example: mid-tone denim holds texture and detail in golden hour sun, under fluorescent office lighting, or in a dim restaurant. The color stays readable. That consistency is the goal.
Patterns That Cause Problems on Camera
Horizontal stripes make the body read as wider. This is how the eye tracks horizontal lines across a flat, two-dimensional frame — not a matter of opinion, just image optics. Small busy prints — micro-florals, dense checks, tightly packed geometric repeats — create visual vibration on screen. Digital compression makes closely spaced lines shimmer and buzz in a way that looks chaotic in a photo, even when the same print seemed interesting and structured in the mirror.
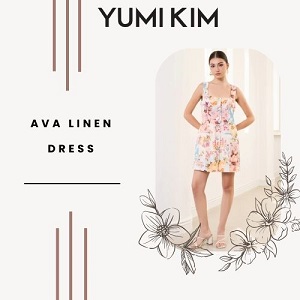
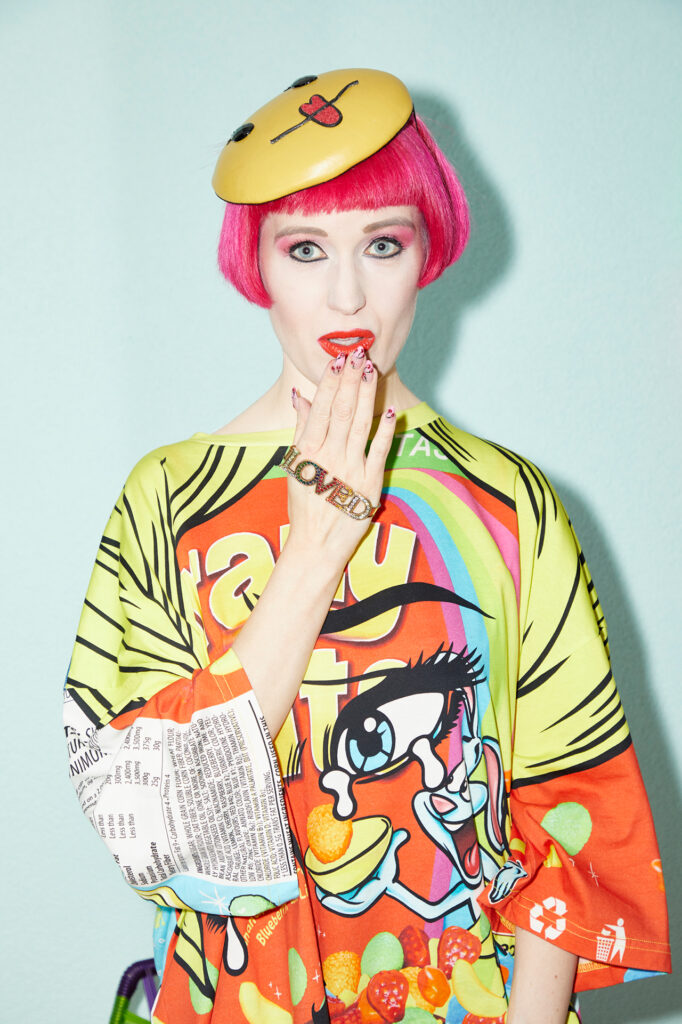
Large, clean prints work. Oversized geometric shapes, bold stripes wider than four inches, abstract prints with significant negative space between elements — these read as deliberate design rather than visual noise. They tell a clear story at low resolution. Solid colors remain the most reliable option across every photography context and lighting condition. When in doubt, solid is never wrong.
Fit Is the Variable Most People Underestimate
A $70 Zara structured blazer that fits your shoulders correctly photographs better than a $400 piece cut three sizes oversized. Cameras flatten dimension. A well-fitted garment creates the shape the camera has to work with. Sharp shoulder seams sitting exactly at the shoulder point, a defined waist, hems at the right length — these communicate “intentional” even in a quick candid. Structure doesn’t have to mean formal. It means the garment has a clear relationship to your body.
Flowy, unstructured silhouettes can look effortless in person and formless on screen. If that’s your preference, anchor it with one fitted element: tuck in the shirt, add a belt at the waist, or pair with slim-leg trousers at the bottom. Give the camera a clear silhouette to read. Structure doesn’t have to come from the primary garment — it just needs to exist somewhere in the overall outfit.
Six Posing Techniques That Work for Any Body
These aren’t model tricks. They’re practical responses to how cameras compress three-dimensional space into a flat image. A small adjustment in positioning creates a significant change in the final photo, because the camera can only capture what you show it from its single fixed angle. Understanding that one fact changes how you approach every photo you’re in.
- Angle your body 45 degrees to the camera. Facing straight-on shows your widest possible profile in every dimension simultaneously. Turn 20 to 30 degrees to one side and you immediately appear narrower. This works for every body type because it removes the camera’s full-frontal view of your broadest plane. Even a slight turn is enough to see the difference.
- Chin out, slightly down. Pull your chin forward toward the lens, then drop it just a touch. This creates jaw definition and eliminates the double-chin effect that shows up for even slim people at unfavorable angles. It feels exaggerated while you’re doing it. It looks completely natural in the photo. Practice in front of a mirror until it’s automatic.
- Give your hands a specific job. Arms hanging straight at your sides flatten against your torso and add visual bulk to both. Options: one hand on hip with the elbow pointing backward (creates space and shape), thumb hooked in a pocket, holding something — a bag, a jacket draped over the shoulder, a coffee cup. Any deliberate position is better than the default.
- Create visible daylight between your arms and torso. Even half an inch of space between your arm and your side preserves arm definition. When the arm presses flat against the body, both flatten out and widen in the frame. The elbow-out hip pose solves this automatically and looks natural — not posed — on camera.
- Shift your weight to the back foot. The foot further from the camera takes your weight. This creates a natural hip tilt that adds movement to the frame and breaks the rigid, flat symmetry of a direct stance. Candid photos look like this. Stiff, posed photos don’t. The shift is subtle in real life and significant in the photo.
- Look just above the lens, not directly into it. Direct eye contact with the camera often reads as tense or confrontational in a still frame. Look at the top edge of the phone or camera instead. For a candid, relaxed look, glance slightly to one side of the lens as if you’re focusing on something just out of frame.
Start with body angle and chin position — those two produce the biggest immediate difference with the least practice. The others become natural over time.
Photo Makeup: One Level More Defined Than Your Daily Look
Camera sensors flatten contrast. The precise brow definition, careful contour, and layered blush you built in the mirror reads as “barely any makeup” once captured on screen. The fix is consistent and specific: go one notch more defined than your everyday look — not theatrical, just more intentional. Glossier Boy Brow in Brown ($16) registers clearly on camera while still looking like actual hair strands. The Charlotte Tilbury Hollywood Flawless Filter ($49) layered under foundation adds a luminosity that reads as skin glow, not visible product. For lips, matte and satin finishes photograph cleaner than high-gloss — gloss creates the same hotspot problem as shiny fabric, reflecting light in flat patches that erase lip definition. One level up. The camera meets you in the middle.
Eight Common Photo Mistakes — and the Direct Fix
Every mistake in this table follows the same underlying pattern: the camera removes information your eyes compensate for automatically in real life. Satin hotspots, white washout, loose silhouettes — your brain fills these in when you’re standing in front of a mirror. The lens records what’s actually there. Matte fabrics, fitted cuts, and deliberate angles give the camera something real to capture.
| Mistake | Why It Looks Bad on Camera | The Fix |
|---|---|---|
| Horizontal stripes | Eyes track horizontal lines across a flat frame, expanding the apparent silhouette width | Vertical stripes, diagonal print, or solid color |
| White clothing near the face | Aggressive light reflection blows out detail and flattens nearby skin tone | Cream, ivory, or soft blush tones instead |
| Small busy prints | Digital compression makes dense patterns shimmer and vibrate visually | Large-scale prints (4"+ repeat) or solid colors |
| Shiny satin or PU leather | Hotspots flatten texture — looks cheap on camera even when fine in person | Matte cotton, linen, ponte, or matte faux leather |
| Arms straight at sides | Flattens arms against torso, visually widens both | Elbow on hip, thumb in pocket, or holding an object |
| Facing camera head-on | Shows widest possible body profile in every dimension at once | 45-degree body angle to the lens |
| All-black outfit in low light | Garment becomes a featureless dark void — no readable texture or shape | Navy, deep green, or charcoal; or add a contrasting belt or bag |
| No structure in the silhouette | Camera flattens dimension — loose, unanchored shapes read as formless | One fitted or structured element anchoring the overall look |
Check your last three or four photos against this list. Most people consistently repeat one or two of these patterns without realizing it, because in the mirror the outfit reads fine. The camera sees it differently.
Fixing even one — particularly the body angle and shiny fabric issues — creates a visible improvement across your entire photo output. You don’t need to overhaul everything at once. Pick the most common offender and start there.
How to Dress for the Specific Type of Photo You’re Taking
Treating every photo the same is the single most consistent reason people look polished in some contexts and off in others. A professional headshot has fundamentally different requirements than a casual group shot. The outfit that performs in a studio undermines you in a candid, and over-styled fashion looks read as chaotic in a quick phone photo. Match the styling to the context and you look intentional every time.
Professional Headshots
The strategy is restraint. The clothing should visually recede so the face can advance. Structured, solid-color tops in medium tones are the consistent answer — not because they’re boring, but because they don’t compete. The Reformation Cece Dress in Dusty Mauve ($178) works in this context because the neckline flatters without dominating, the color sits squarely in the camera-friendly medium tone range, and nothing pulls focus from the face. For men: a well-fitted oxford in slate blue or soft grey consistently outperforms both white and black in headshot lighting. No patterns. No logos. No statement accessories. One clean, readable look.
A useful self-test: look at your outfit preview and cover your face in the frame. If the clothing immediately draws your eye or reads as a “look” on its own, it’s competing too hard. In a headshot, when your face is present, the clothing should effectively disappear.
Full-Body Fashion and Editorial Shots
At this scale, silhouette is the entire game. The camera needs a clear, readable shape — and that comes from deliberate proportions, not just nice individual pieces. High-waist wide-leg trousers with a fitted top create a defined silhouette the lens reads immediately. AGOLDE’s 90s Pinch Waist Jeans ($198) with a ribbed tank is a combination that photographs consistently well across lighting conditions: the high rise elongates the torso, the wide leg adds visual drama at the bottom, and the fitted tank keeps the upper half defined and in proportion. Follow one principle: proportion contrast. Voluminous top with slim bottom, or slim top with wide-leg bottom. Either direction works. Matching volumes everywhere — oversized top and wide-leg pants — creates formless mass unless there’s a defined waist or cinching element breaking up the silhouette.
Casual Photos and Group Shots
Fit matters more than fashion here. Clean basics in well-fitted cuts outperform trend-driven pieces with poor fit every time in low-stakes photo contexts. Universal Standard’s Foundation Crewneck ($68) in any solid color is a reliable camera-ready base — clean cut, matte cotton, available in sizes 00 through 40. Pair it with well-fitting jeans (the Levi’s 501 in Medium Stonewash remains the standard) and one considered accessory. That is the formula. The trap in casual photography is over-styling: three accessories plus a busy print plus a statement shoe read as chaotic in a quick phone photo taken under mixed indoor lighting. Simplify deliberately. Fewer decisions produce a better result when the camera is a phone and the light is whatever’s in the room.
Know the context before you get dressed. Dress for that specific situation — and you stop leaving your photo results to chance.